

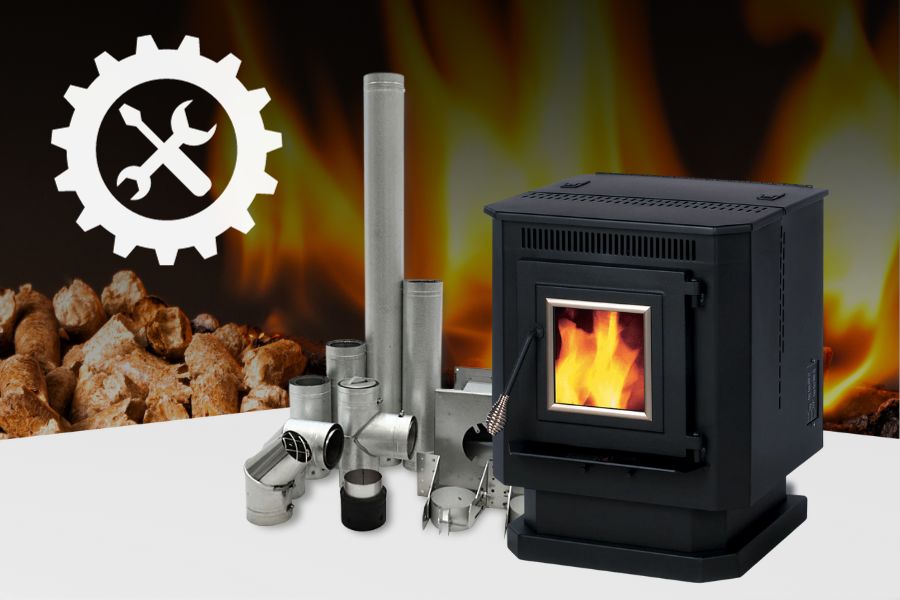

Installing a pellet stove can be a cost-effective and environmentally friendly way to heat your home. Unlike traditional wood stoves, pellet stoves burn recycled wood waste and are highly efficient in converting fuel to heat.
While installation may seem daunting, it can be done with proper preparation and some basic tools.
In this article, we’ll walk you through the steps to install a pellet stove, from preparing your space to connecting your stove to the proper venting system.
Simple Steps to Install Pellet Stove Pipe

- Measure the Distance: Before purchasing a pellet stove pipe, measure the distance from the stove to the ceiling. This will help you determine the length of pipe you need to purchase.
- Choose the Right Pipe: Pellet stove pipes are made of different materials, such as stainless steel, galvanized steel, or black steel. Choose the one that is appropriate for your stove and meets local building codes.
- Prepare the Pellet Stove: Before you start installing the pipe, ensure that the stove is properly installed and in the correct position. You’ll need to attach the pipe to the back of the stove to ensure a clear space behind it.
- Install the Horizontal Pipe: If you need to install a horizontal section of pipe, ensure it slopes slightly upwards toward the vent to prevent condensation buildup. Use screws or clamps to secure the pipe to the stove.
- Install the Vertical Pipe: Attach the vertical section of the pipe to the horizontal pipe, making sure it’s securely fastened. Extend the pipe through the ceiling and roof, following local building codes and manufacturer guidelines.
- Use Flashing and a Storm Collar: To prevent water from leaking through the roof, install a flashing and storm collar around the pipe where it exits the roof.
- Seal the Joints: Use a high-temperature sealant to seal the joints between the pipe sections, ensuring no air leaks.
You can easily install a pellet stove pipe by following these simple steps. However, it’s important to note that installation requirements may vary depending on the type of stove and your local building codes.
Before Installation – Learn Your Heating Needs
Before installing a pellet stove, it’s important to determine your heating needs. This will help you choose the right size stove and avoid overspending on a larger stove than you need.
Consider the size of the area you want to heat, the insulation of your home, and your climate to determine your heating requirements.
Pellet stoves burn recycled wood waste and provide efficient heat like wood stoves.
How to Install a Pellet Stove
- Prepare the Installation Site: Make sure the area where you plan to install the stove is clear of debris and safe for installation.
- Install a Hearth Pad: A hearth pad is a non-combustible floor protector that prevents heat from damaging the flooring underneath the stove.
- Insert Vent Thimble and Piping: The vent thimble is installed through the wall or ceiling, and the piping is attached to it to vent the exhaust outside.
- Connect Your Pellet Stove to the Piping and an Electrical Outlet: The stove is connected to the piping using a vent pipe adapter, and an electrical outlet is required for the stove’s blower motor.
- Test the Pellet Stove: Once everything is connected, test the stove to ensure it’s working properly and safely.
How Does a Pellet Stove Work?
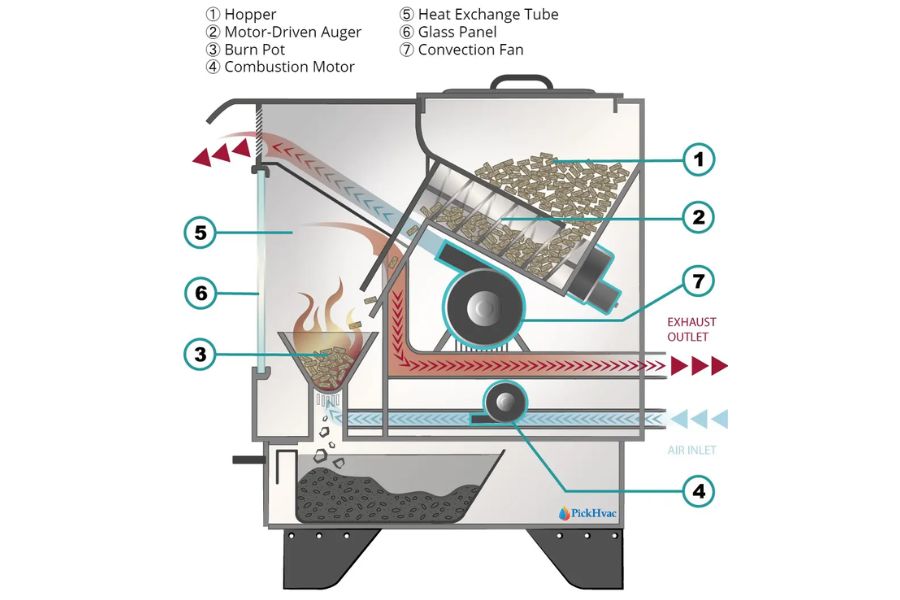
A pellet stove works by burning wood pellets, which are made from compressed sawdust and wood shavings. The pellets are loaded into a hopper, which feeds them into a burn pot.
An electric heating element ignites the pellets, and a fan blows air over the burning pellets, creating heat that is then blown into the room.
Steps for Installing a Freestanding Pellet Stove
Installing a freestanding pellet stove can be a great way to add warmth and ambiance to your home.
Here are some steps to follow when installing a freestanding pellet stove:
- Choose the Location: Select a location for the stove near an electrical outlet and away from combustible materials.
- Install a Hearth Pad: Place a non-combustible hearth pad on the floor in the chosen location.
- Install the Chimney: Install the chimney through the ceiling and roof of your home. Follow all building codes and manufacturer’s recommendations for the type and size of chimney pipe needed.
- Connect the Vent Pipe: Connect the stove to the chimney with a vent pipe that is the same diameter as the flue collar on the stove.
- Level the Stove: Use a level to ensure the stove sits evenly on the hearth pad.
- Connect the Stove to Power: Plug the stove into an electrical outlet and turn it on to ensure that it’s working properly.
- Adjust the Settings: Once the stove is installed and working, adjust the temperature and blower settings to your desired level.
Always follow the manufacturer’s instructions and consult a professional if you’re not confident installing the stove yourself.
Pellet Stove Installation Cost Breakdown

The cost of installing a pellet stove will depend on several factors, including the type of stove, the complexity of the installation, and local labor and material costs.
A basic installation for a freestanding pellet stove can cost between $1,000 and $2,000, while a more complex installation that involves running a vent pipe through a wall or roof can cost significantly more.
Insert Pellet Stove Installation in Five Steps
Installing a pellet stove in your home can be a cost-effective and eco-friendly heating solution. Here are five simple steps to follow for inserting a pellet stove installation:
1. Prepare Your Fireplace
Before you start, clean out your existing fireplace, and chimney. Ensure that your chimney is up to code and clear of any blockages.
2. Insert the Chimney Liner
A chimney liner is required for all pellet stoves. Insert the liner into the chimney and fasten it securely.
3. Cut a Hole for the Vent
Determine the best location for the vent and cut a hole in the wall or ceiling. Ensure the hole is the same size as the vent or exhaust pipe.
4. Attach the Liner Adapter and Plug in Your Stove
Connect the liner adapter to the exterior wall of the chimney liner and plug in your stove.
5. Place the Pellet Stove in the Fireplace and Connect the Liner
Finally, place your pellet stove in the fireplace and connect it to the liner. Make sure the pellet stove insert is level and secure before use.
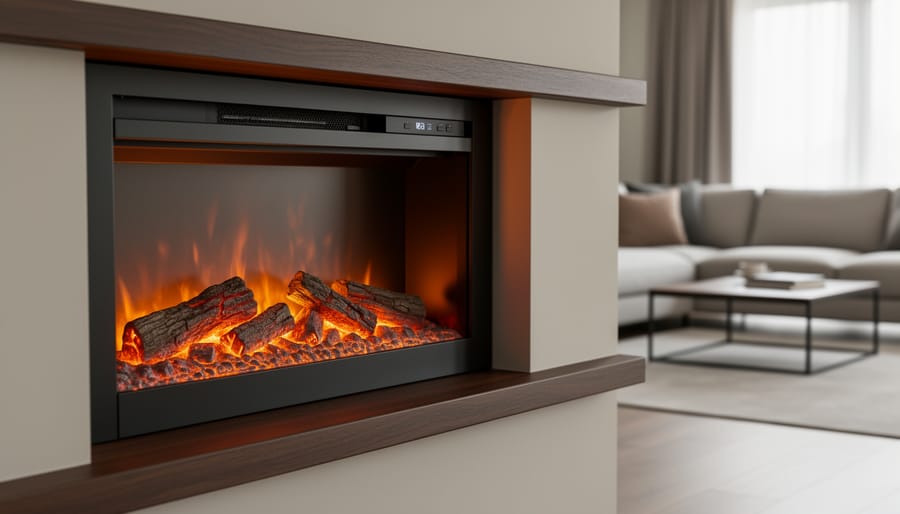
Benefits of Pellet Stoves

Pellet stoves offer a variety of benefits that make them a popular choice for home heating. One of the main advantages of pellet stoves is their eco-friendliness, as they burn recycled wood waste instead of fossil fuels.
They also provide the same heat as a wood stove with less hassle, as they are easy to operate and require less maintenance.
Additionally, pellet stoves are highly efficient and can help reduce heating costs, especially when compared to traditional heating methods like oil or electric heat.
With their convenient features, pellet stove costs savings and environmental benefits, it’s easy to see why pellet stoves are becoming a go-to heating solution for many homeowners.
Biomass Pellets
Most pellet stoves here use biomass pellets as fuel, which manufacturers produce from recycled wood waste. These pellets are known for being carbon neutral, making them an environmentally friendly and sustainable choice.
Cost to Install a Pellet Stove Yourself
Installing a pellet stove yourself can save you money on installation costs. The cost of new pellet stove installation will depend on various factors such as the type of pellet stove, the complexity of the existing heating system, and the location of the stove.
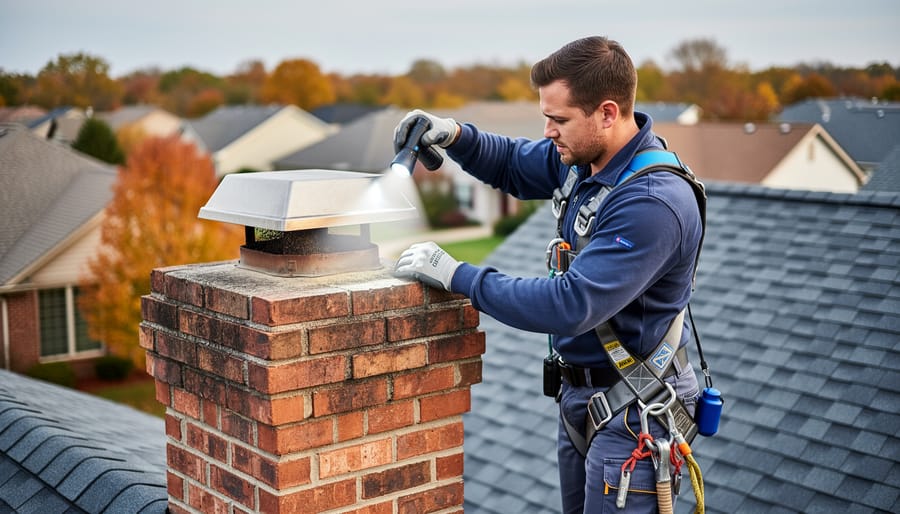
Does a Pellet Stove Need a Chimney?
Yes, a pellet stove does require a chimney or vent pipe to properly vent the exhaust gases produced during combustion. The type and size of the chimney or exhaust vent and pipe required will depend on the specific model of the pellet stove and local building codes.
Can You Install a Pellet Stove Into a Fireplace Opening?
Yes, installing a pellet stove into a fireplace opening is possible. To install a pellet stove, it is crucial to adequately prepare the fireplace and fulfill the required criteria.
Consider factors such as the size of the fireplace opening, the condition of the existing chimney, and the availability of appropriate ventilation. Proper assessment of these aspects is necessary before proceeding with the installation process.
")