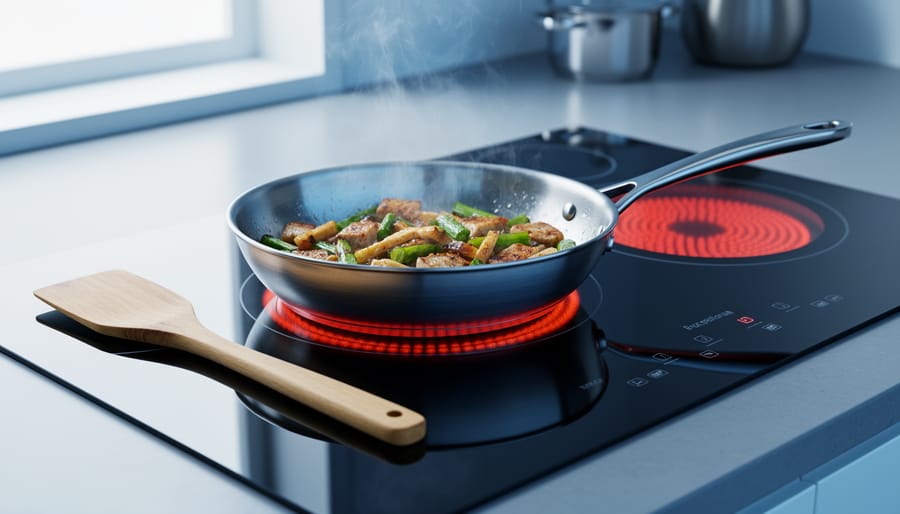


Mastering an electric stove means understanding its quirks and working with them, not against them. Unlike gas ranges that respond instantly to temperature adjustments, electric coils and smooth-top elements heat and cool slowly, creating a lag between your turn of the dial and the actual change in cooking temperature. This delayed response makes temperature control tricky, especially for techniques like searing or simmering that demand precision. The good news? A few strategic adjustments to your cooking habits can turn these limitations into reliable results.
The twelve tips ahead address the most common frustrations home cooks face with electric stovetops: uneven heating, slow temperature changes, and the challenge of maintaining consistent heat levels. You’ll learn practical workarounds like the two-burner method for quick temperature shifts, proper cookware selection to maximize heat distribution, and timing strategies that account for residual heat. These aren’t complicated techniques requiring special equipment. They’re simple adjustments that work with your stove’s natural behavior.
Just as choosing the right heating solution transforms your home’s comfort and efficiency, matching your cooking approach to your equipment makes everyday meal preparation smoother and more enjoyable. Electric stoves offer steady, predictable heat when you understand their rhythm, and that consistency becomes an advantage once you’ve adapted your technique.
Why These Electric Stove Tips Matter
Electric stoves present a distinct set of cooking challenges that gas ranges simply don’t face. The physics of heating a metal coil or glass-ceramic surface, then transferring that heat through your cookware, creates slower temperature response times and occasional hot spots that can frustrate even experienced cooks. These aren’t flaws in your stove, they’re inherent characteristics of electric heating elements that require different techniques to master.
The twelve tips in this guide were selected specifically to address the most common pain points electric stove users encounter. First, they tackle heat control issues unique to coil and smooth-top ranges, teaching you how to work with delayed temperature changes rather than fighting against them. Second, they emphasize energy efficiency strategies that align with thoughtful home management, helping you cook better while reducing unnecessary electricity use. Third, every technique works whether you’re a beginner learning stovetop basics or an experienced cook adapting from gas to electric.
Understanding why certain approaches work on electric stoves changes how you interact with your cooktop. When you know that a coil burner holds residual heat for several minutes after you turn it off, you can use that retained warmth to finish dishes without electricity running. When you recognize that smooth-top surfaces need perfect pan contact to transfer heat efficiently, you’ll naturally reach for flat-bottomed cookware. These insights turn common frustrations, waiting for temperature changes, dealing with scorched spots, into manageable aspects of a cooking method that rewards patience and planning.
1. Preheat Your Burners Properly for Even Heating
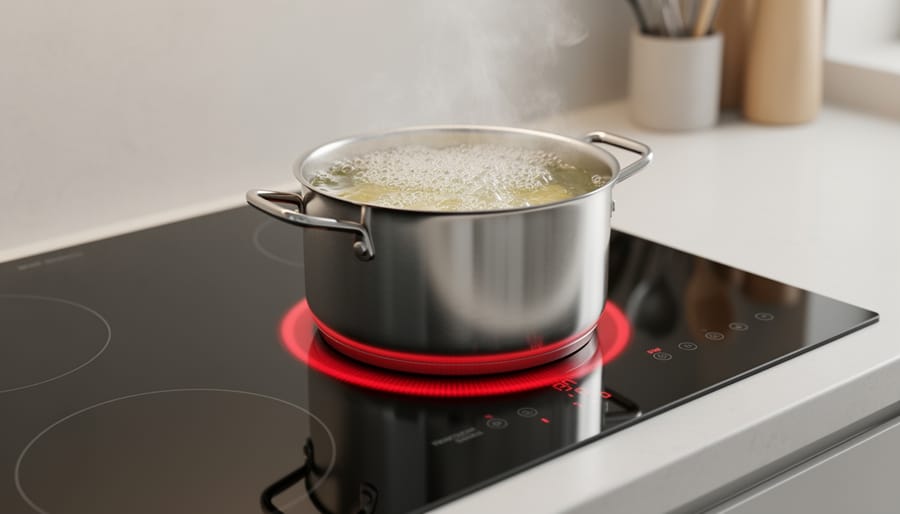
Electric coils and smooth-top elements don’t heat up instantly like gas flames. They need time to reach and stabilize at your target temperature, typically 3-5 minutes depending on the setting. Skipping this preheating step means you’re starting with uneven, climbing heat that makes precise cooking nearly impossible. Your pan’s bottom won’t reach uniform temperature, creating hot spots that burn some areas while leaving others undercooked.
Turn your burner on and let it glow evenly before placing your cookware. For smooth-tops, watch for the indicator light to show the element has cycled through its initial heating phase. This waiting period establishes a stable thermal foundation that responds more predictably when you add food.
Pan size matters just as much. Match your cookware diameter to the burner size, a small pan on a large element wastes energy and creates dangerous handle heating, while an oversized pan on a small burner cooks unevenly around the edges. The pan base should cover the element completely without extending more than an inch beyond it. This simple pairing ensures maximum heat transfer efficiency and gives you the even heating electric stoves can deliver when used correctly.
2. Choose Flat-Bottomed, Heavy Cookware
The surface contact between your cookware and an electric burner determines how efficiently heat transfers to your food. Unlike gas flames that wrap around a pan’s sides, electric elements rely entirely on direct contact with the cookware bottom. Warped, dented, or rounded pans create air gaps that act as insulators, forcing you to crank up the heat and waste energy while still getting uneven cooking results.
Flat-bottomed pans with substantial weight solve this problem by maintaining consistent contact across the entire heating element. Heavy cookware also holds heat more steadily, which compensates for the electric stove’s slower temperature response. When you adjust the dial, thick-bottomed pans maintain their current temperature longer, giving you more control over cooking precision.
Stainless steel pans with thick, layered bottoms and cast iron cookware rank among the best choices. Cast iron excels at heat retention and distribution, making it ideal for tasks requiring steady temperatures like searing or cornbread. Stainless steel with an aluminum or copper core combines durability with responsive heating. Before buying, check that the pan sits completely flat on your countertop without rocking, that same stability translates to better contact with your burners.
3. Anticipate Temperature Changes Early
Electric coils and smooth-top elements take 30 to 60 seconds to respond to dial adjustments, which means you need to think one step ahead of your cooking. Lower the heat before your garlic starts browning too fast, not after. Raise it before your sauce stops bubbling, not once it’s already settled into a flat simmer.
For sautéing vegetables, turn the dial down to medium-low once you hear the first sizzle and see steam rising. The burner holds enough residual heat to continue the quick cook while gradually settling to your target temperature. If you wait until the pan is screaming hot, you’ve already lost that window and will spend the next two minutes fighting scorched edges.
When simmering stocks or sauces, cut the heat to low a full minute before you reach a rolling boil. The element needs time to cool down, and your liquid will coast into a gentle simmer rather than erupt into a boil-over while the burner slowly catches up to your emergency dial twist.
Think of it like steering a boat instead of a car. You point where you want to go well before you need to turn, letting momentum and physics do the work rather than fighting against delayed response.
4. Use Residual Heat to Save Energy
Electric stoves retain heat remarkably well after you switch them off, and smart cooks use this characteristic to trim energy costs without sacrificing results. The technique is simple: turn off your burner 2-3 minutes before your food reaches its final done point, then let the residual heat finish the job.
This works especially well for dishes that need gentle finishing. Scrambled eggs, rice, pasta in sauce, and pan-seared proteins all benefit from coasting to completion on stored heat. The cookware and burner surface hold enough thermal energy to continue cooking at a gradually declining temperature, which often produces more tender results than keeping the element at full power until the last second.
For smooth-top electric ranges, the retained heat is even more pronounced. The glass-ceramic surface acts as a heat reservoir, staying hot for several minutes after you’ve powered down. Cast iron and heavy stainless steel pans amplify this effect further, holding temperature long enough to finish most stovetop tasks.
This approach aligns perfectly with efficient home energy management. Those final minutes of active heating consume electricity without adding value, much like leaving lights on in unused rooms. By capturing the heat you’ve already paid for, you reduce your overall energy draw while developing the precise timing that separates adequate cooks from confident ones.
5. Keep Your Burners and Cookware Clean
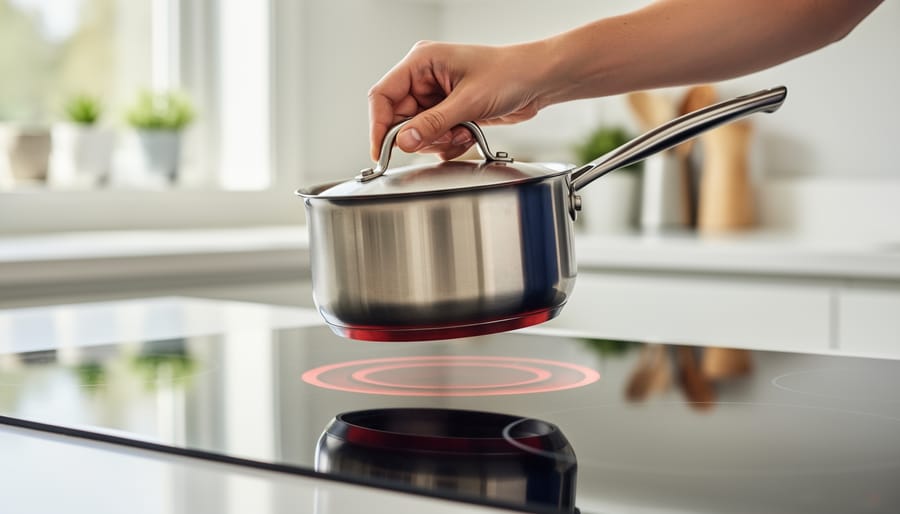
A thin layer of burnt food, grease splatter, or mineral deposits on your electric burner acts like insulation, blocking direct heat transfer from the element to your cookware. This residue forces heat to travel through the debris layer first, which slows cooking, wastes energy, and creates unpredictable hot spots where buildup is thinnest. On coil burners, carbonized food on the metal surface can cause temperature inconsistencies across the cooking zone. On smooth-top ranges, even a light film of oil or starch can bake onto the glass-ceramic surface at high temperatures, leaving dark spots that absorb rather than conduct heat efficiently.
Make wiping down your stovetop after every cooking session a habit. For coil burners, remove the elements once cooled and wipe away loose debris with a damp cloth, then scrub stubborn spots with a paste of baking soda and water. For smooth-tops, use a specialized ceramic cooktop cleaner and a non-abrasive scrubbing pad designed for glass surfaces. Apply the cleaner while the surface is slightly warm but safe to touch, then buff with a microfiber cloth. Clean cookware bottoms matter just as much. Before you place a pan on the burner, check its base for stuck-on residue from previous cooking sessions or boiling water techniques that may have left mineral deposits. A quick wipe keeps contact surfaces smooth and heat transfer direct.
6. Master the Two-Burner Technique
One of the smartest workarounds for electric stoves’ slow temperature response is keeping two burners going at different heat levels. Set one burner to high and another to medium-low, then move your pan between them as your recipe demands instant heat changes.
This technique shines when you’re searing proteins that need a quick temperature drop afterward, or when making risotto that alternates between vigorous stirring and gentle simmering. Instead of twiddling the dial and waiting five minutes for your burner to catch up, you simply slide the pan over to the burner already at your target temperature.
The method does require a bit of planning. You’ll need to preheat both burners before you start cooking, and you should use potholders since you’ll be handling a hot pan more frequently. But once you build the habit, it transforms electric cooking from a frustrating waiting game into something surprisingly responsive.
This approach also mirrors the efficiency mindset we bring to managing home heating systems, anticipating needs and setting up redundancy beats reactive adjustments every time.
7. Invest in a Burner Diffuser for Delicate Tasks
A burner diffuser, a flat metal disc that sits between your electric element and cookware, solves one of the most frustrating electric stove challenges: achieving gentle, controlled heat for temperature-sensitive tasks. Electric burners cycle on and off to maintain temperature settings, creating hot-cold fluctuations that can scorch delicate sauces, seize chocolate, or curdle custards.
The diffuser absorbs and redistributes heat evenly across its surface, smoothing out those temperature spikes. This creates the kind of steady, low heat that electric stoves struggle to deliver directly. You’ll find them invaluable when making béchamel sauce, melting butter without browning, warming milk, or tempering chocolate, all tasks where a few degrees make the difference between success and disaster.
Most heat diffusers cost between fifteen and thirty dollars and work on both coil and smooth-top ranges. Look for models with a handle for easy removal and heat-resistant construction. While they add a few minutes to preheating time, the control they provide transforms finicky recipes from stressful gambles into predictable successes. Think of a diffuser as temperature insurance for your most delicate cooking projects.
8. Learn Your Stove’s Heat Settings
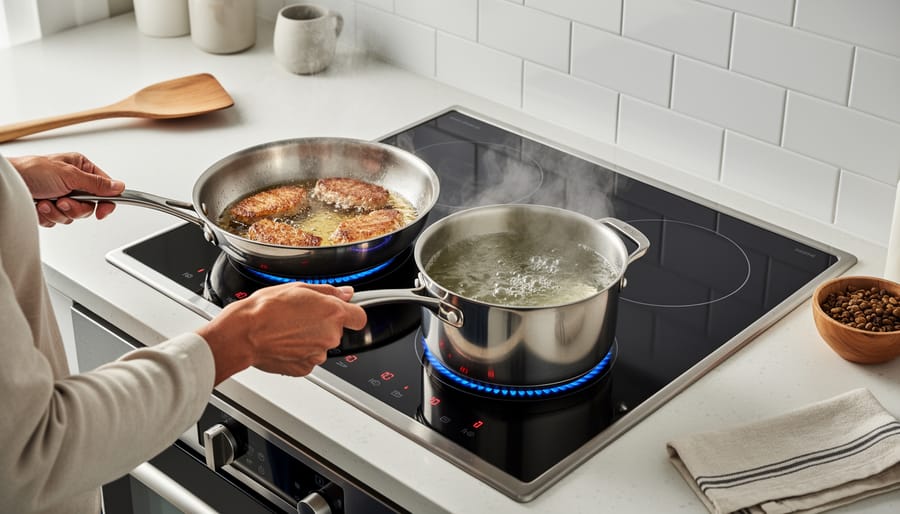
Every electric stove speaks its own language when it comes to heat settings. That “5” on your dial might deliver a gentle simmer on one brand and a rolling boil on another. The numbers themselves are arbitrary markers, not standardized temperatures, which is why recipes written for gas stoves often leave electric cooks guessing.
Spend an afternoon getting to know your specific appliance. Fill a pan with water and test each setting: note how long it takes to boil at different numbers, how vigorously it bubbles, and how quickly the temperature drops when you reduce heat. This simple mapping exercise reveals your stove’s true personality. You’ll discover that medium heat on your particular model might actually be setting 4 instead of 5, or that low simmer lives at 2 rather than 3.
Once you understand these quirks, you can master your stovetop without burning through guesswork every time you try a new recipe. Write your findings on a note card and keep it nearby until the settings become second nature. This knowledge transforms frustrating temperature guessing into confident, repeatable cooking results.
9. Avoid Dragging Pots on Smooth-Top Surfaces
Smooth glass-ceramic cooktops look sleek, but they’re surprisingly vulnerable to damage from a common kitchen habit: dragging pots and pans across the surface. Each time you slide a heavy pot instead of lifting it, you risk creating tiny scratches and abrasions that accumulate over time. These micro-scratches aren’t just cosmetic, they compromise the surface’s ability to transfer heat efficiently and create spots where spills can burn on and become nearly impossible to clean.
The solution is straightforward but requires building a new habit. Always lift your cookware straight up when you need to move it, even if you’re just shifting it an inch to the side. Use both hands for heavier pots, gripping the handles firmly before you lift. When you’re adjusting heat levels and referring to resources like a medium heat guide take that moment to lift and reposition your pan properly rather than sliding it to a different burner.
Beyond lifting, inspect the bottom of your cookware regularly for rough spots, stuck-on food residue, or warped areas that could scratch the glass surface. A smooth, clean pan bottom protects your cooktop and improves heat contact, giving you better cooking results while extending the life of your appliance.
10. Use Medium Heat as Your Default Starting Point
Starting at medium heat gives you control and prevents the most common electric stove mistake: overshooting your target temperature. Because electric elements respond slowly to adjustments, cranking the dial to high means you’ll sail past the heat you actually need, then wait several minutes for it to drop back down.
Medium heat, typically setting 5 on a 1-10 dial, provides a stable platform. From there, you can gauge whether your task needs more or less heat and make a single adjustment rather than constantly yo-yoing between extremes. This approach works beautifully for sautéing vegetables, pan-frying proteins, and heating sauces. You’ll reach the right temperature zone within a few minutes, and you can observe what simmer looks like or see when oil shimmers for searing, then fine-tune.
Think of medium as your baseline. It’s hot enough to cook most foods but conservative enough that you won’t scorch butter, burn aromatics, or overshoot delicate temperature windows. Once you know your stove’s personality, you can start certain tasks higher or lower, but medium remains the safest, most predictable launching point for electric cooking.
11. Stir More Frequently to Counter Hot Spots
Electric coils and smooth-top elements create concentrated heat zones directly above the heating element, which can lead to scorching or uneven cooking if you treat them like gas burners. The solution is simple: stir more often than you think you need to.
For sauces, soups, and one-pot meals, adopt a habit of stirring every 30-60 seconds rather than every few minutes. This redistributes ingredients from the hot center to the cooler edges and back again, preventing bottom-layer burning while ensuring everything cooks at a similar rate. Pay special attention when cooking thicker mixtures like risotto, chili, or cream sauces, where ingredients settle and create direct contact with the hottest part of the pan.
Use a wooden spoon or heat-resistant silicone spatula to scrape the bottom and sides of your cookware as you stir. This keeps food moving through different temperature zones and helps you detect any sticking before it becomes a problem. While this approach requires more active attention than set-it-and-forget-it cooking, it transforms the electric stove’s heat pattern from a liability into manageable reality. Think of frequent stirring as your primary tool for creating the even heat distribution that electric elements can’t provide on their own.
12. Embrace Specialty Electric Cookware
While mastering technique matters immensely, the right cookware can eliminate many electric stove frustrations before you even turn on the burner. Specialty electric stove cookware features design elements that compensate for slower heat response and potential hot spots. Look for pans with fully encapsulated or layered bottoms, aluminum or copper cores sandwiched between stainless steel, that spread heat evenly across the cooking surface rather than concentrating it where the coil makes contact. These multi-ply constructions reduce scorching and create more forgiving temperature zones. Induction-compatible cookware also excels on traditional electric coils, since the magnetic stainless steel base distributes heat efficiently. Some manufacturers now produce lines specifically labeled for glass-ceramic cooktops, with perfectly flat, smooth bottoms that maximize surface contact. The investment pays off in consistent results: sauces that don’t break, vegetables that cook uniformly, and proteins that sear properly without burning. Quality electric-specific cookware also tends to retain heat better, making techniques like leveraging residual heat more effective and even influencing factors like salt and cooking time by maintaining stable temperatures throughout the cooking process.
Common Electric Stove Cooking Questions
What temperature setting should I use for simmering on an electric stove?
Start at medium-low (around setting 3-4 on most electric stoves) and adjust downward if needed. A proper simmer shows occasional gentle bubbles breaking the surface, not a rolling boil.
Why does my electric stove heat unevenly, and how can I fix it?
Uneven heating typically results from warped cookware bottoms, dirty burner surfaces, or damaged coil elements. Check that your pans sit flat against the burner, clean any residue from the cooking surface, and inspect coils for visible damage or loose connections.
How do I know when it’s time to replace my electric coil burners?
Replace coils when you notice visible breaks, blistering, or areas that glow brighter than others. If a burner fails to heat at all or cycles on and off erratically, it’s reached the end of its useful life.
How do I convert gas stove recipes for use on an electric stove?
The main adjustment involves timing rather than temperature. Start your electric burner earlier to account for preheating, reduce heat settings 1-2 minutes before you’d turn down a gas flame, and expect dishes to take slightly longer overall due to slower temperature response.
What’s the best setting for boiling water quickly on an electric stove?
Use your highest setting and cover the pot with a lid to trap heat. Once the water reaches a full boil, reduce to medium-high to maintain it without wasting energy.
These questions reflect the real-world challenges you’ll encounter as you refine your electric stove technique. The key to troubleshooting most issues lies in understanding that electric elements behave fundamentally differently than gas flames. Where gas offers instant visual feedback and immediate response, electric cooking rewards patience and planning. Once you internalize these timing differences and learn your specific stove’s personality, what once felt like fighting against your equipment becomes second nature.
Bringing It All Together
Mastering electric stove cooking isn’t about fighting your appliance’s quirks, it’s about working with them. Once you understand that slower temperature response and steady heat retention are features rather than flaws, you can turn what seems like a limitation into a cooking advantage. The patience required to preheat properly, the foresight to adjust heat before you need the change, and the awareness of residual heat all build a more mindful approach to cooking that applies far beyond the stovetop.
To start seeing results immediately, focus on these core techniques:
- Preheat burners for 3-5 minutes before adding food
- Adjust heat settings 1-2 minutes before you need the temperature change
- Turn off burners 2-3 minutes early and use residual heat to finish cooking
- Choose flat-bottomed, heavy cookware that makes full contact with the heating element
These fundamentals transform frustration into control. The same thoughtfulness that goes into managing efficient heating solutions throughout your home, anticipating needs, understanding energy flow, maximizing what you already have, applies directly to electric stovetop cooking. You’re not just learning techniques; you’re developing a relationship with your appliance that makes every meal better while reducing energy waste. Give yourself time to learn your specific stove’s personality, and the investment pays off in consistently excellent results and a more sustainable kitchen.