Do you love the look of chimineas, and are considering one for your outdoor space?
Before you purchase, you need to be aware that chimineas need special treatment to remain in safe working order and retain their original beauty.
To help you out, I put all the information you need about chimineas here. Inside, you can discover different chiminea types, why curing one is essential, and easy steps to cure it yourself.
Correctly preparing your chiminea is the key to spending season after season enjoying this portable outdoor fireplace’s warmth and ambiance!
Different Types of Chimineas
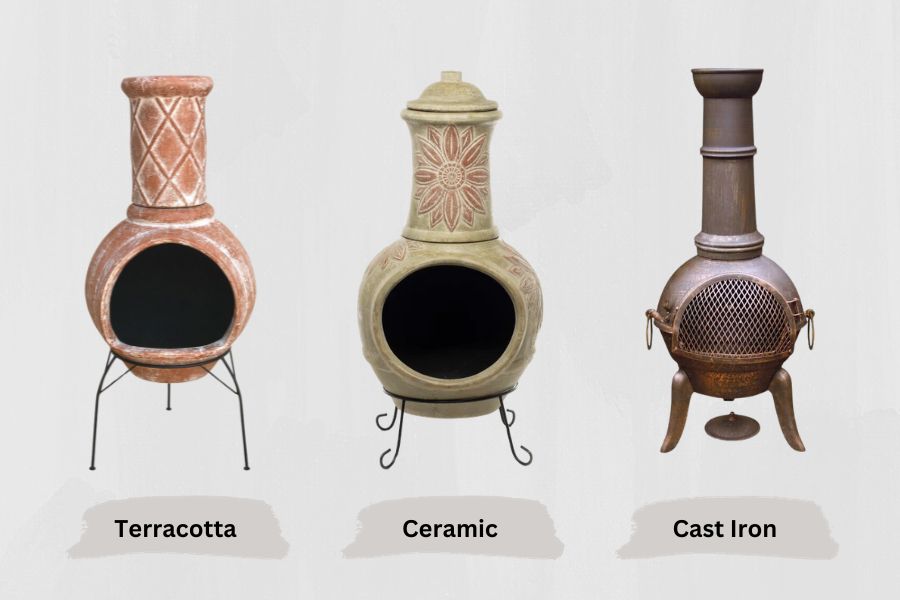
You may be deciding between a fire pit or a chiminea or just not sure what type of chiminea you want. Either way, here is a quick breakdown of the differences between the three common chiminea materials.
Terracotta
Terracotta is the most common chiminea material. Terracotta is clay, which means if you don’t treat it properly during handling and use, it is more likely to break or crack, rendering it useless.
With careful preparation, a terracotta chiminea provides extra warmth as it absorbs and holds heat from the fire, then releases it slowly as the fire dies.
Ceramic
Ceramic chimineas are another popular option because the material can withstand a more extensive range of temperatures without cracking as long as you avoid using lighter fluid to start the burn, which can cause damage.
Ceramic versions tend to be more decorative in styling, which makes them a great addition to areas of your yard that need more interest.
Cast Iron
Lastly, cast iron chimineas provide the most durability and often feature a grilling tray accessory or a grated door for extra convenience and safety.
Styles of cast iron chimineas can be simple or intricate, which enables you to find the perfect balance to your design aesthetic.
What Types of Chimineas Need to be Cured?
All types of chimineas need curing before use, a fact many new owners fail to understand.
So if you buy a clay, terracotta, cast iron, or ceramic chiminea, follow manufacturers’ recommendations for proper curing protocol.
Why Do You Need to Cure a Chiminea?
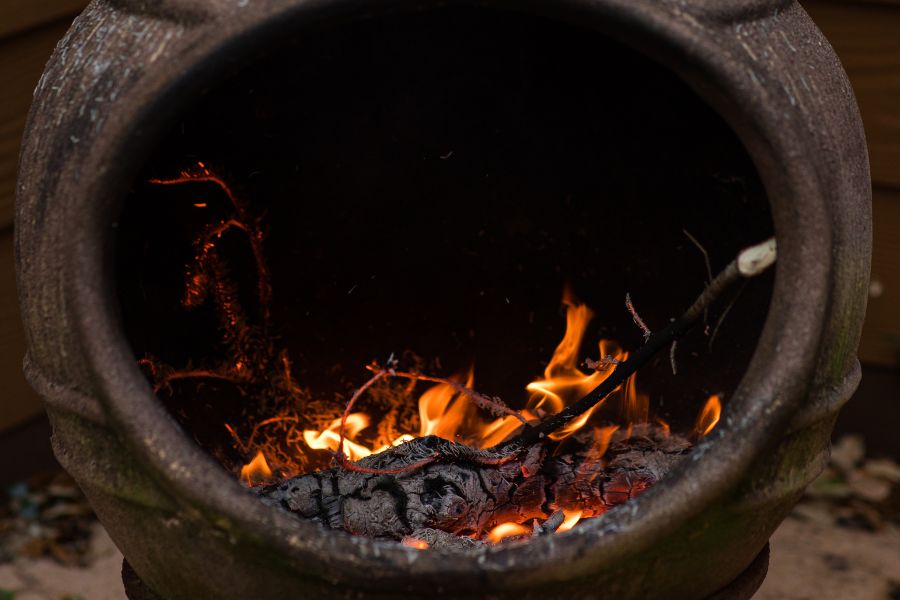
Curing is important for iron chimineas because it helps bond the paint to the iron surface, which will prevent rust in the future.
For clay chimineas (ceramic and terracotta), curing the material strengthens the clay molecules, so they bond together tighter, reducing the chance of cracks or breakage.
Materials Needed to Cure a Chiminea
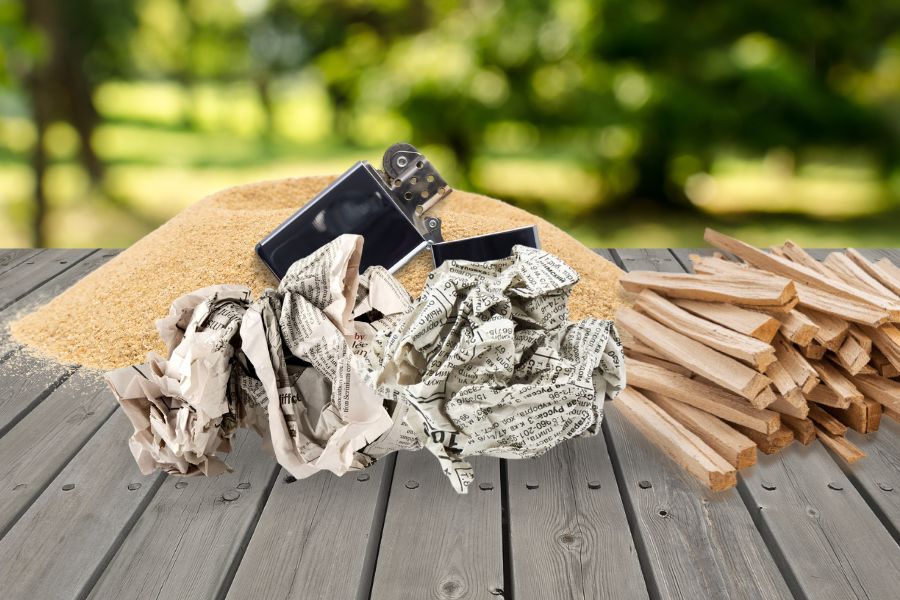
Thankfully, only these few materials are necessary to perform curing on both iron or clay chimineas:
- Sand
- Kindling wood
- Newspaper
- Matches or lighter
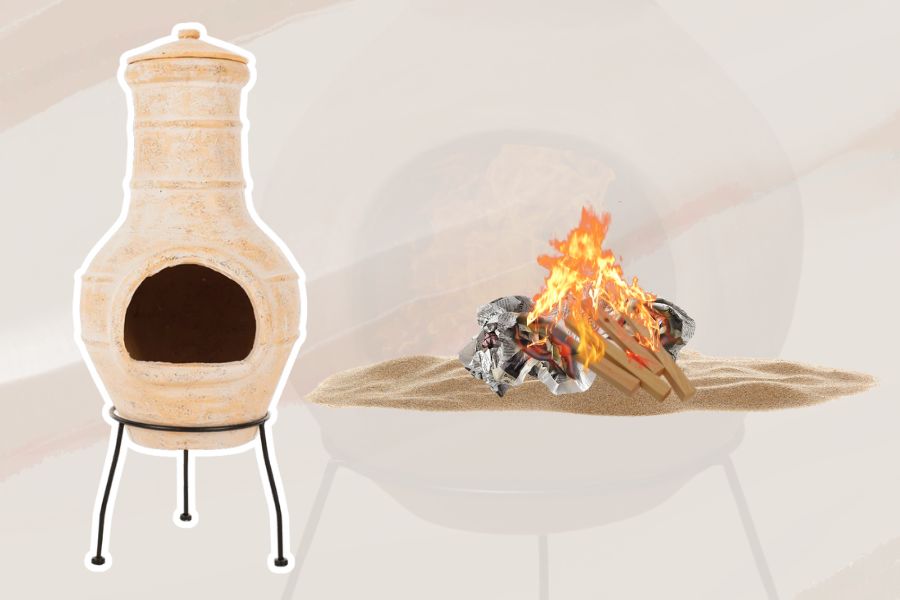
You will need enough sand to line the interior of the base to around four inches deep. The amount will vary according to the shape and depth of the bowl inside your specific chiminea.
Your fire will sit on this sand base, so make it a comfortable height for prepping and lighting fire-making materials.
Step by Step: How To Cure a Chiminea
Follow these steps to ensure your chiminea curing process is sufficient for long-term use:
Step 1. In an empty base, place one or two balls of newspaper (or any type of paper) inside and light them. Add one or two more paper balls until you build a small fire.
Do not overdo it; keep the flames small. Once you reach this level, allow the fire to burn out entirely and the chiminea to cool. Clean out any remnants of the fire.
Step 2. Add sand inside the interior of the base. This layer of sand will remain inside the chiminea during all subsequent uses.
Step 3. You now need to build another fire, this time using paper and small bits of kindling. This fire needs to burn a bit larger than the first fire.
Once the fire reaches the right height, allow it to burn out and cool down completely.
Step 4. Repeat this fire-building and cool-down process two or three more times, with each subsequent fire more substantial than the one before.
Heating up and cooling down the chiminea material in this way will enable it to tolerate the high levels of prolonged heat that will occur during regular use as an outdoor fireplace.
Conclusion
If metallic-looking propane or directional patio heaters aren’t your thing, chimineas are an excellent investment. When you take the time to cure them correctly, they will last for years of enjoyment.
I hope you put the information in this guide on how to cure a chiminea to good use and enjoy the relaxing atmosphere a cozy fire brings to your home’s outdoor living areas!
